2. Create new environments
Open the "Create Environment" screen
In the left sidebar, click on the "+" icon next to the namespace where you would like to create a new environment.
In the following image, we create a new environment in the "default" namespace:
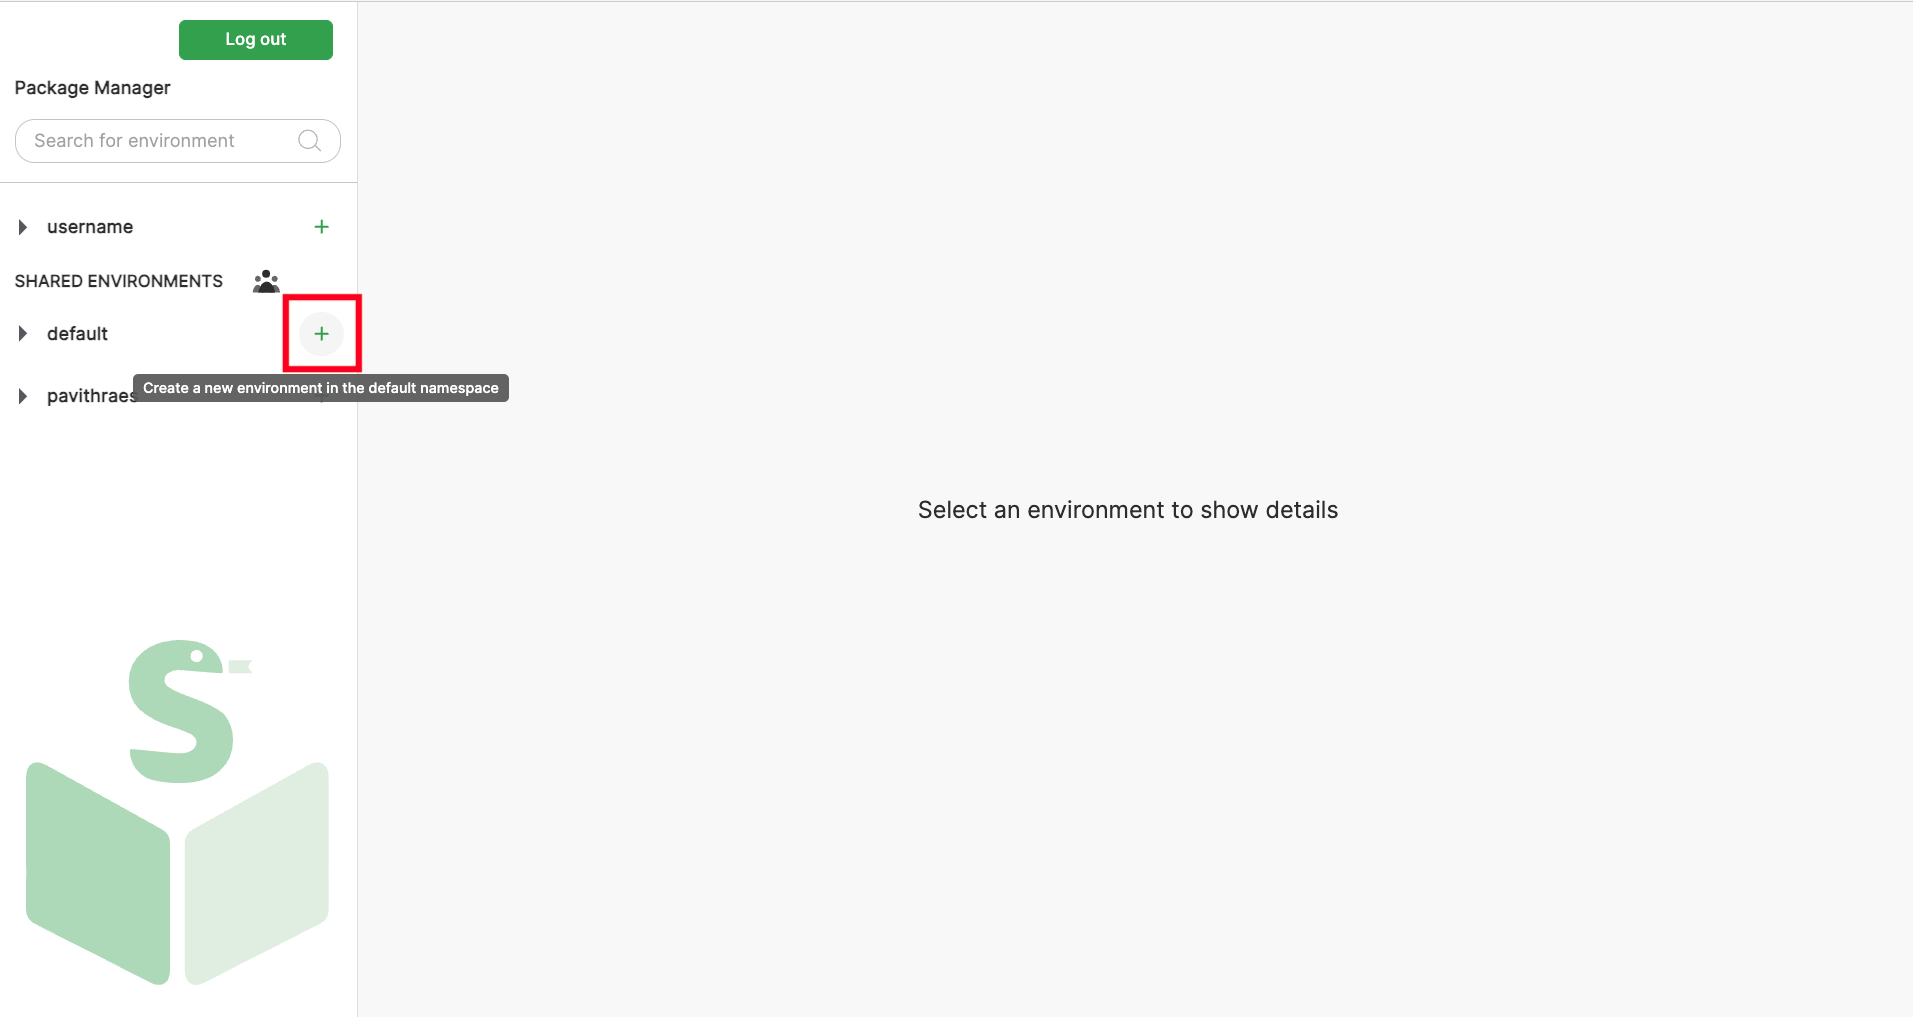
In an organization's conda-store, you may have access to create (and edit) environments only in selected namespaces. If you don't have access, the "+" plus button will be disallowed and displayed in grey.
Graphical interface
Add environment name and description
In the environment creation panel, add a suitable name and description for your environment.
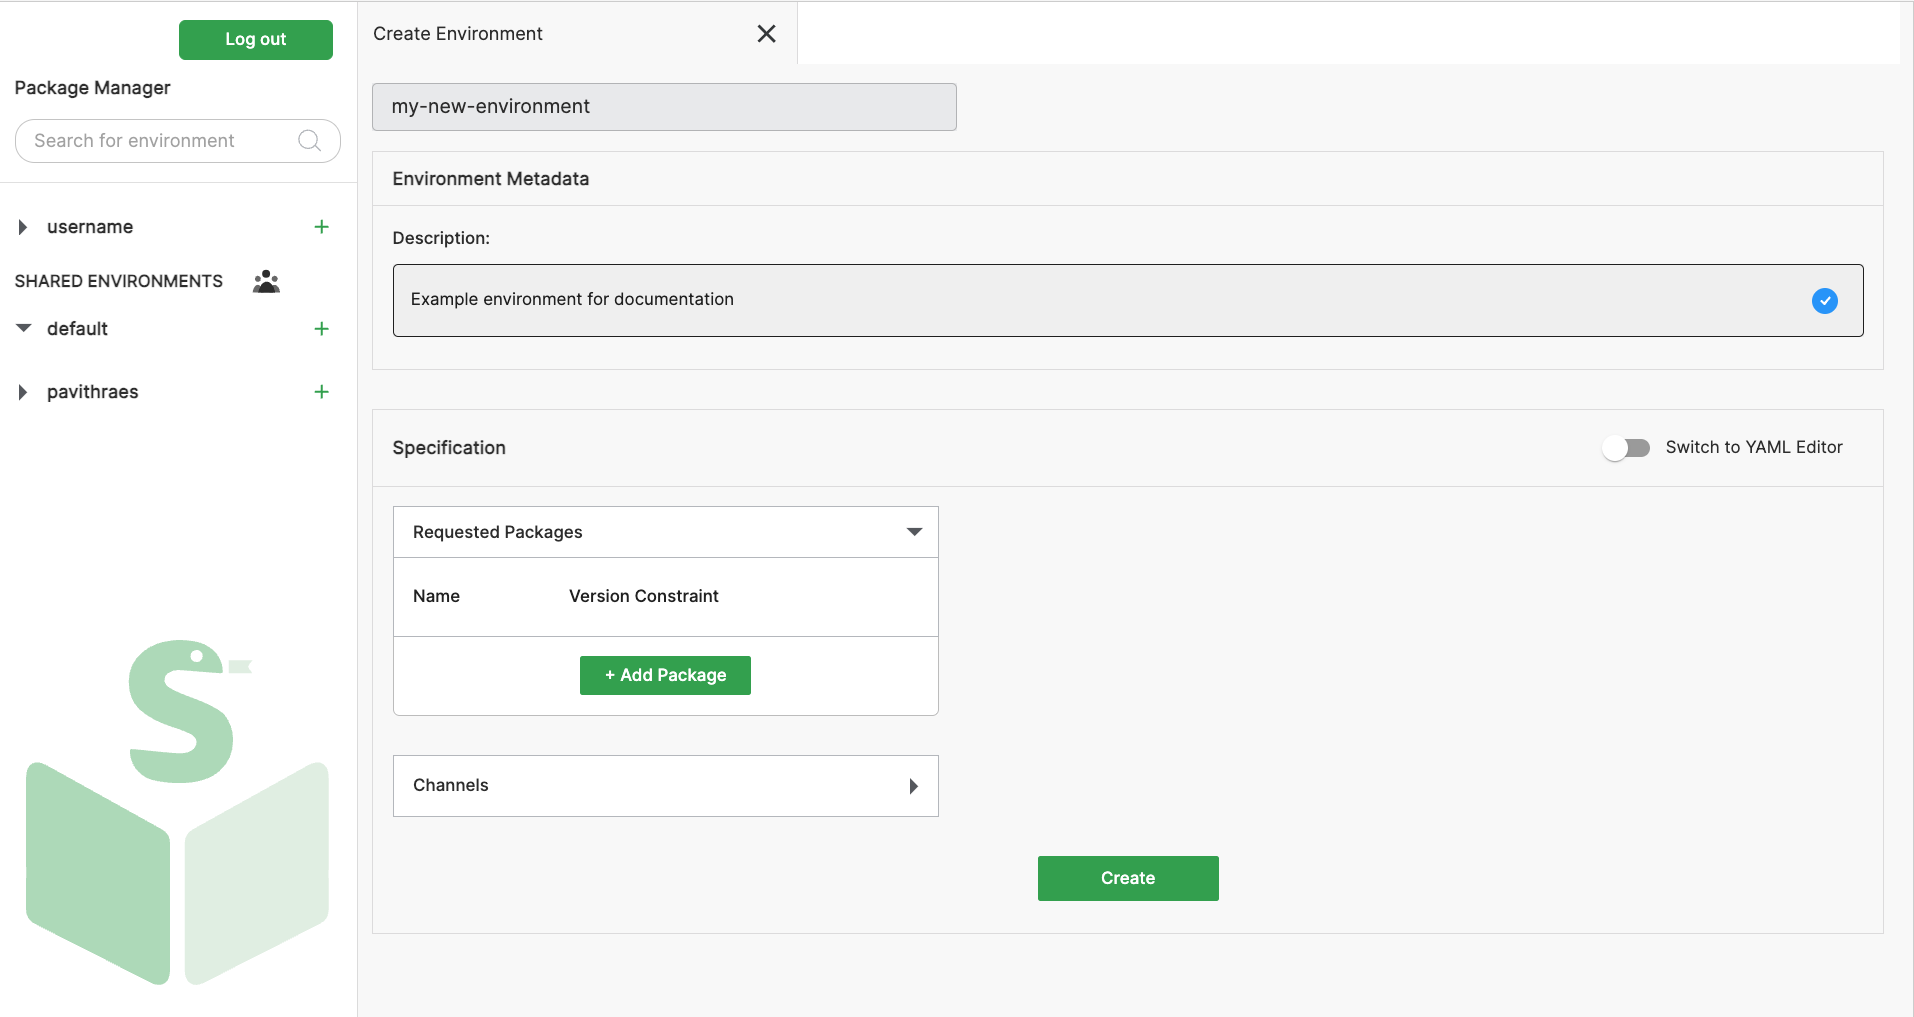
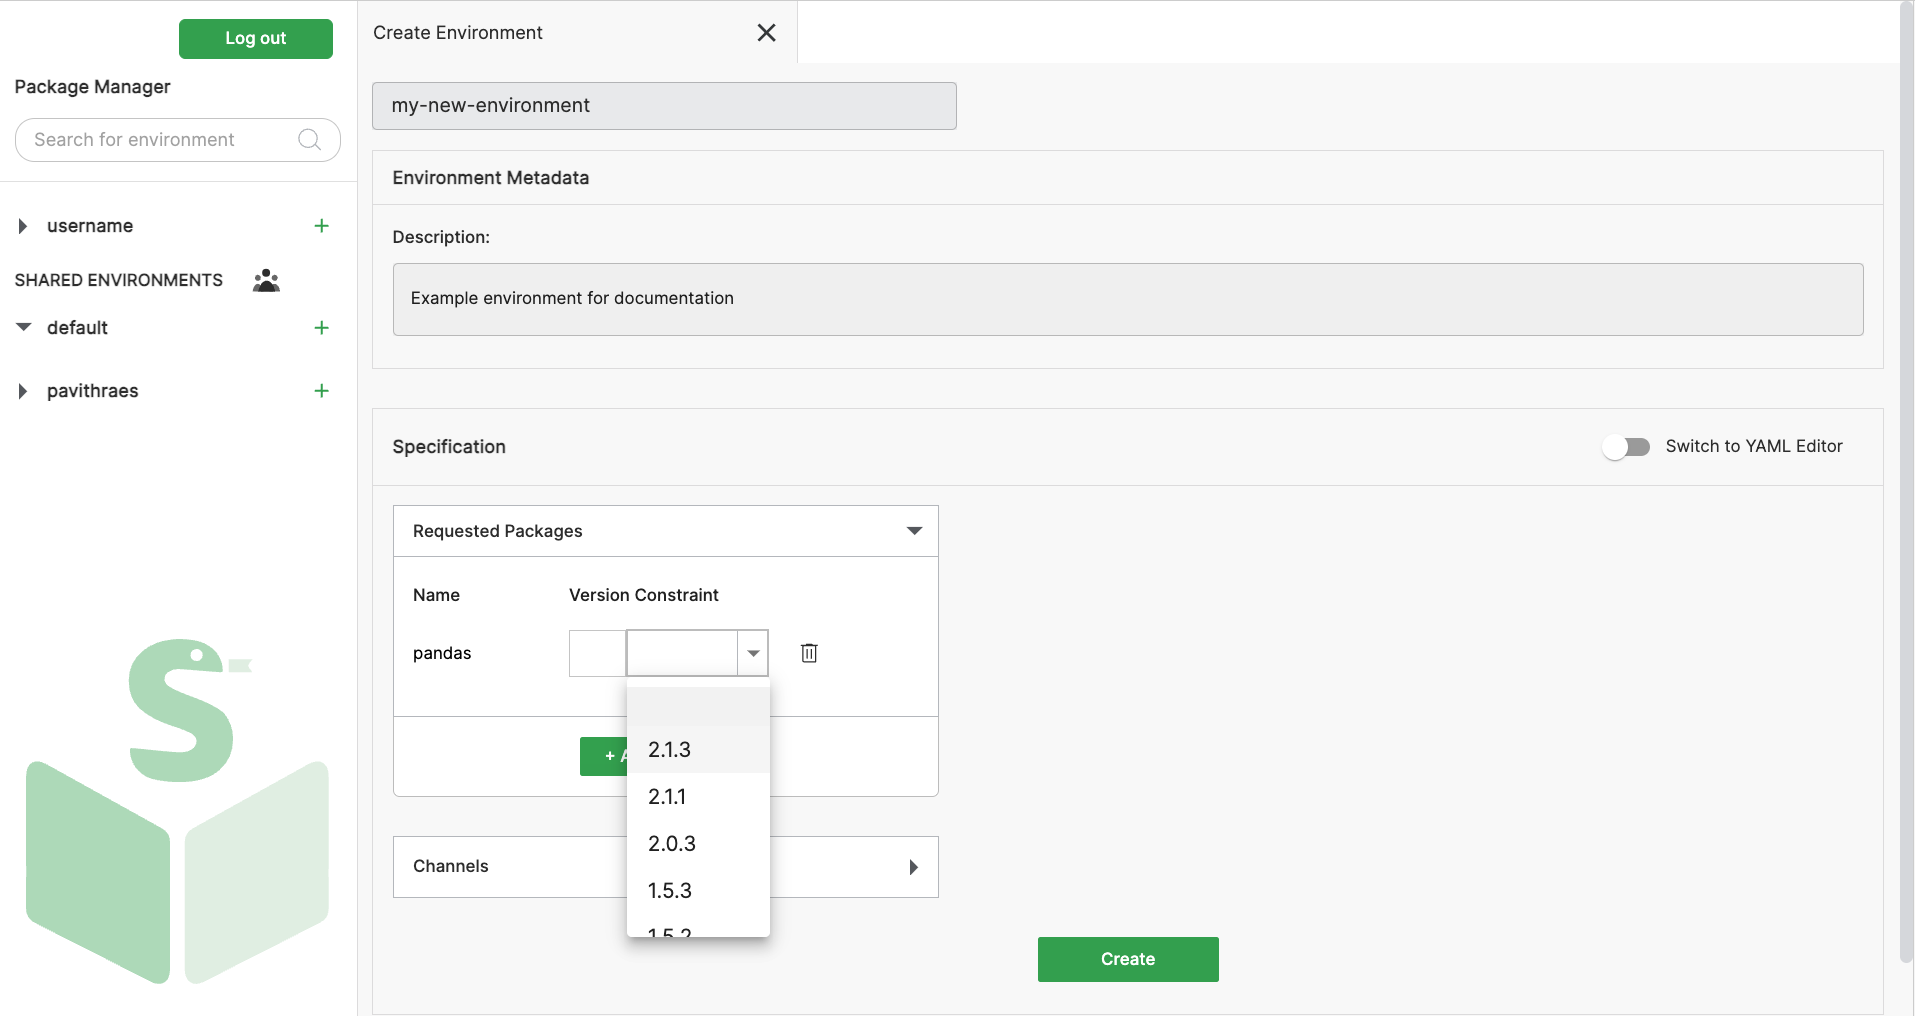
Add required packages
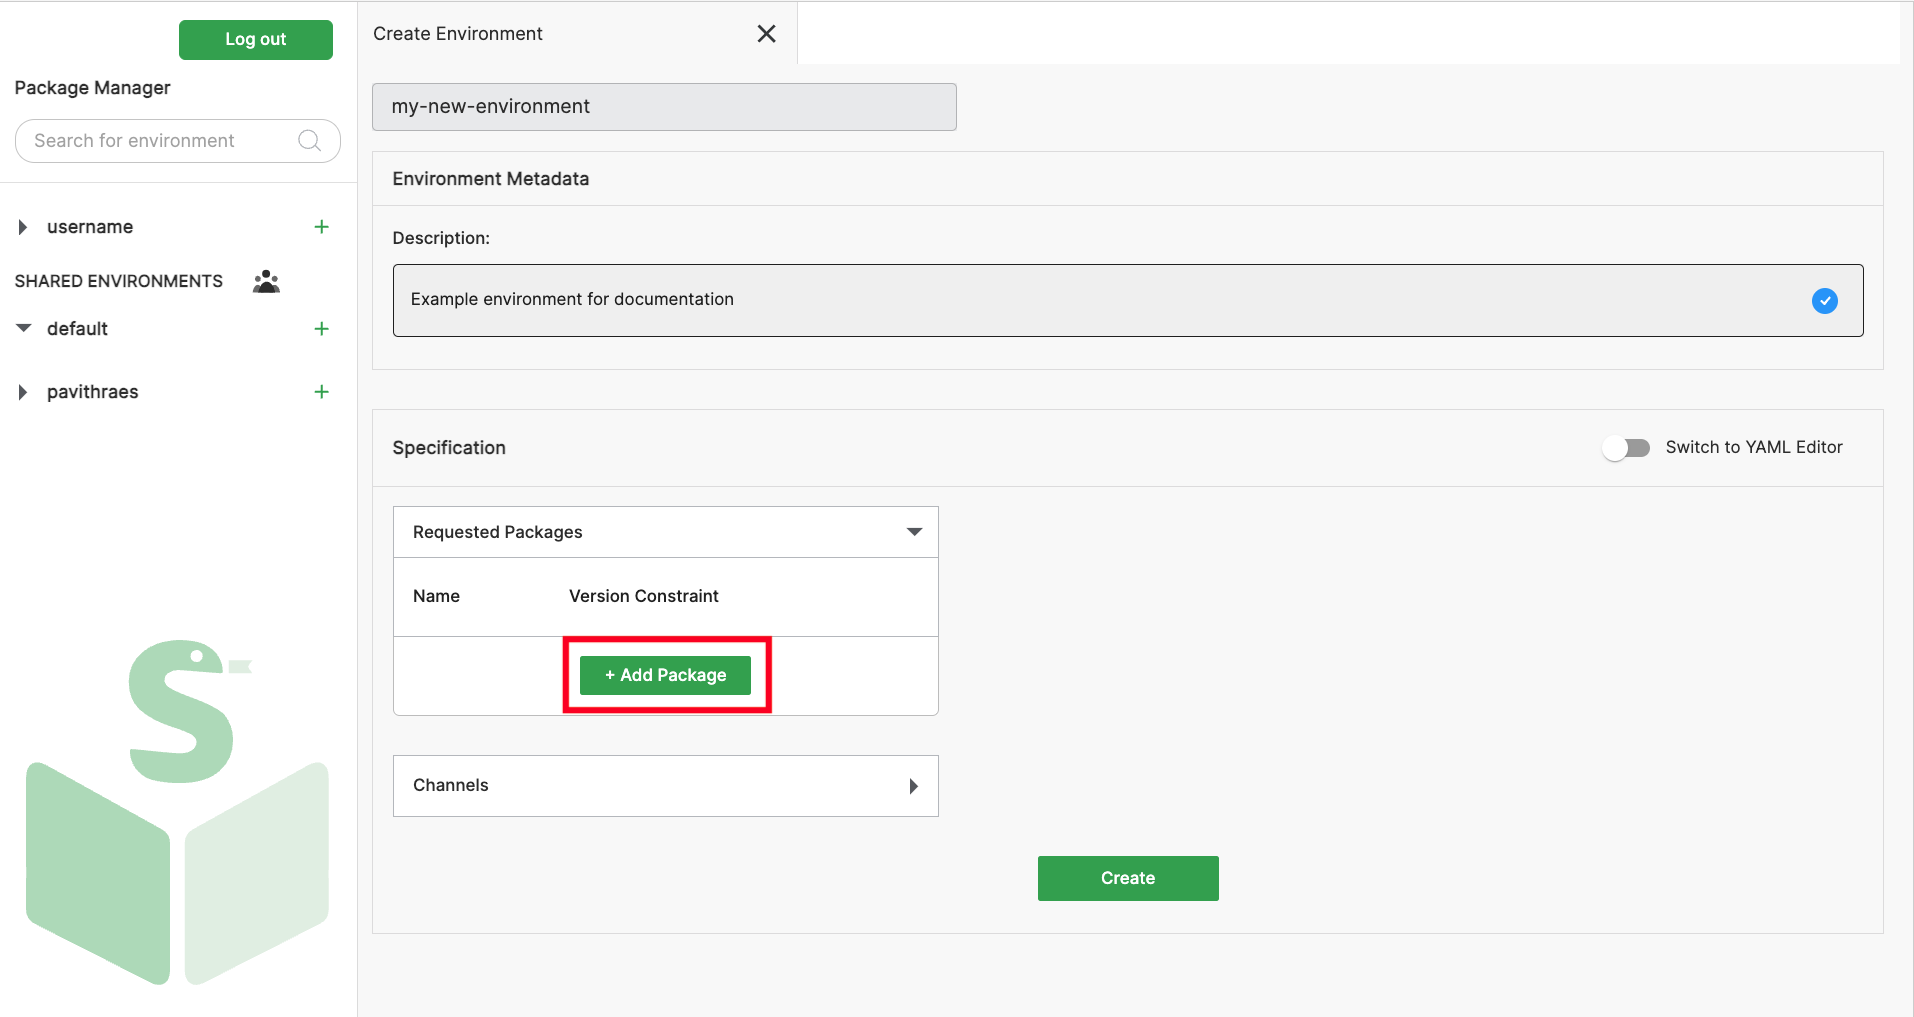
In the "Specification" section of the Environment Creation panel, click on the "+ Add Package" button under "Requested Packages":
In the text field that opens, start typing the package name and select the package from the list. Once selected, press Enter to add the package.
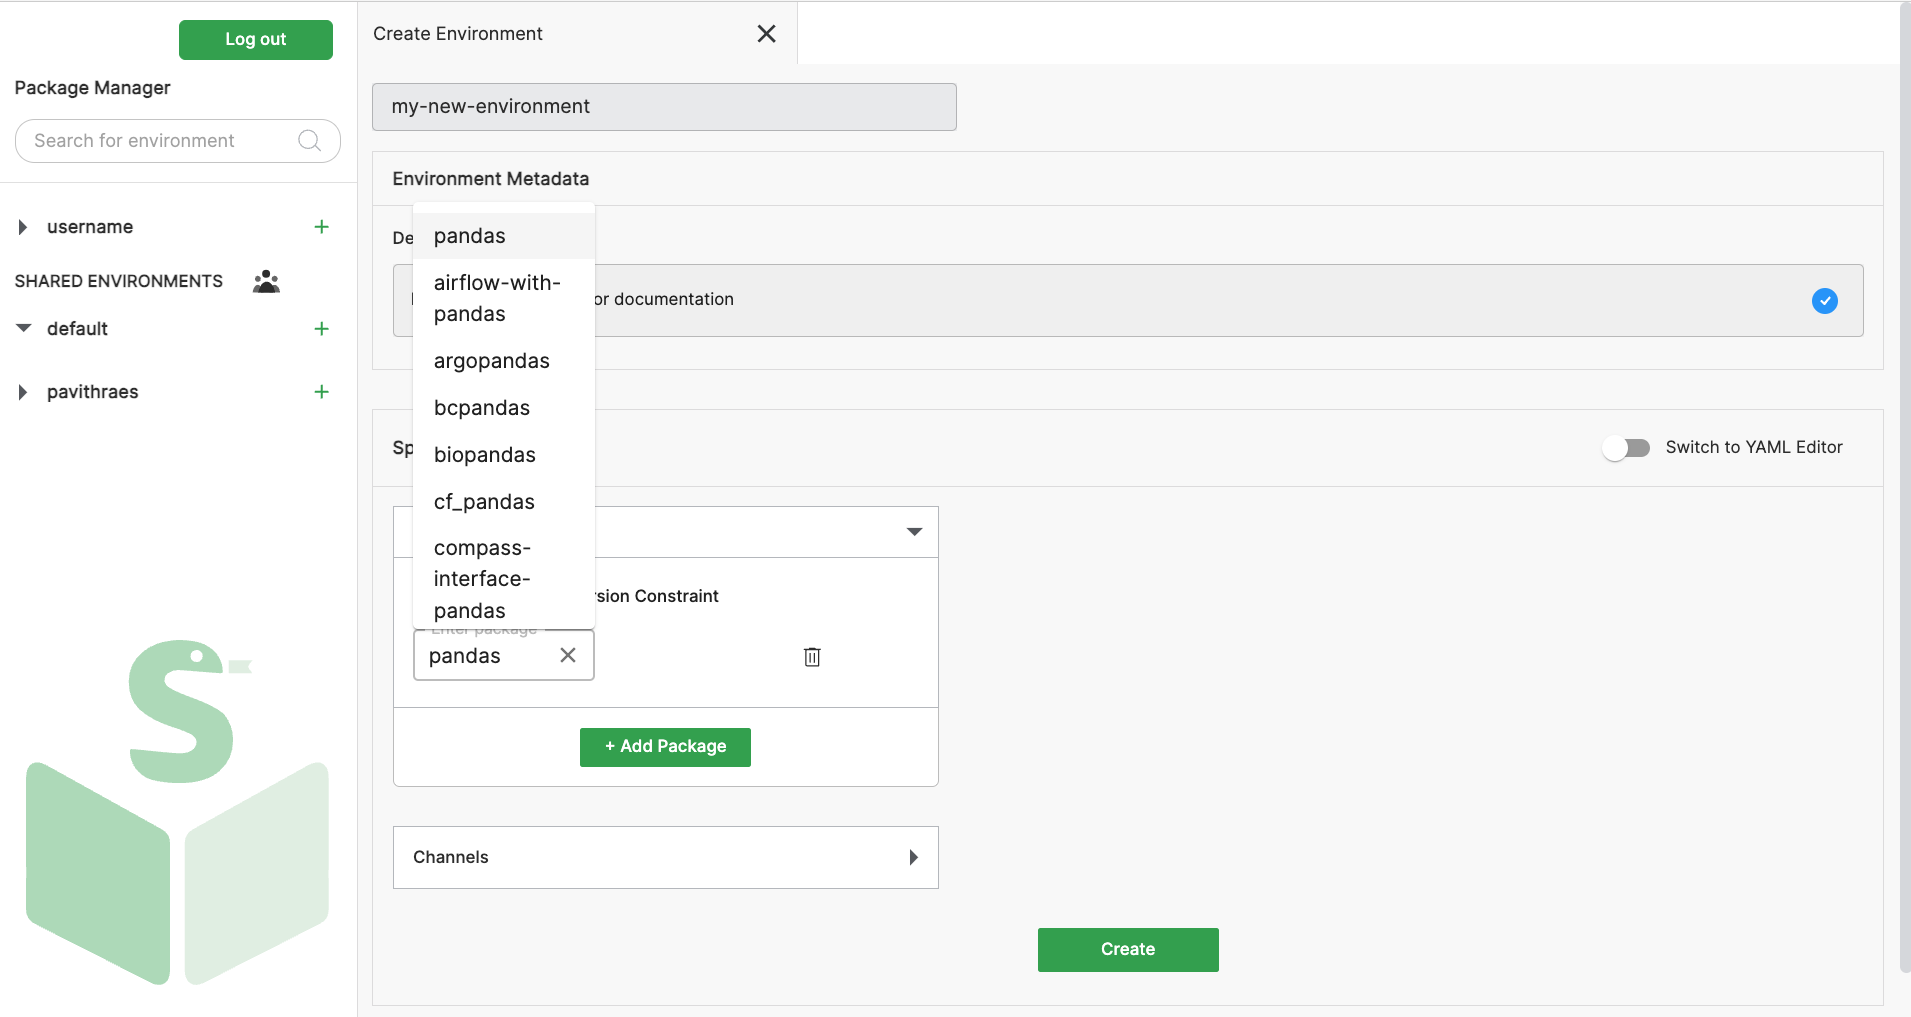
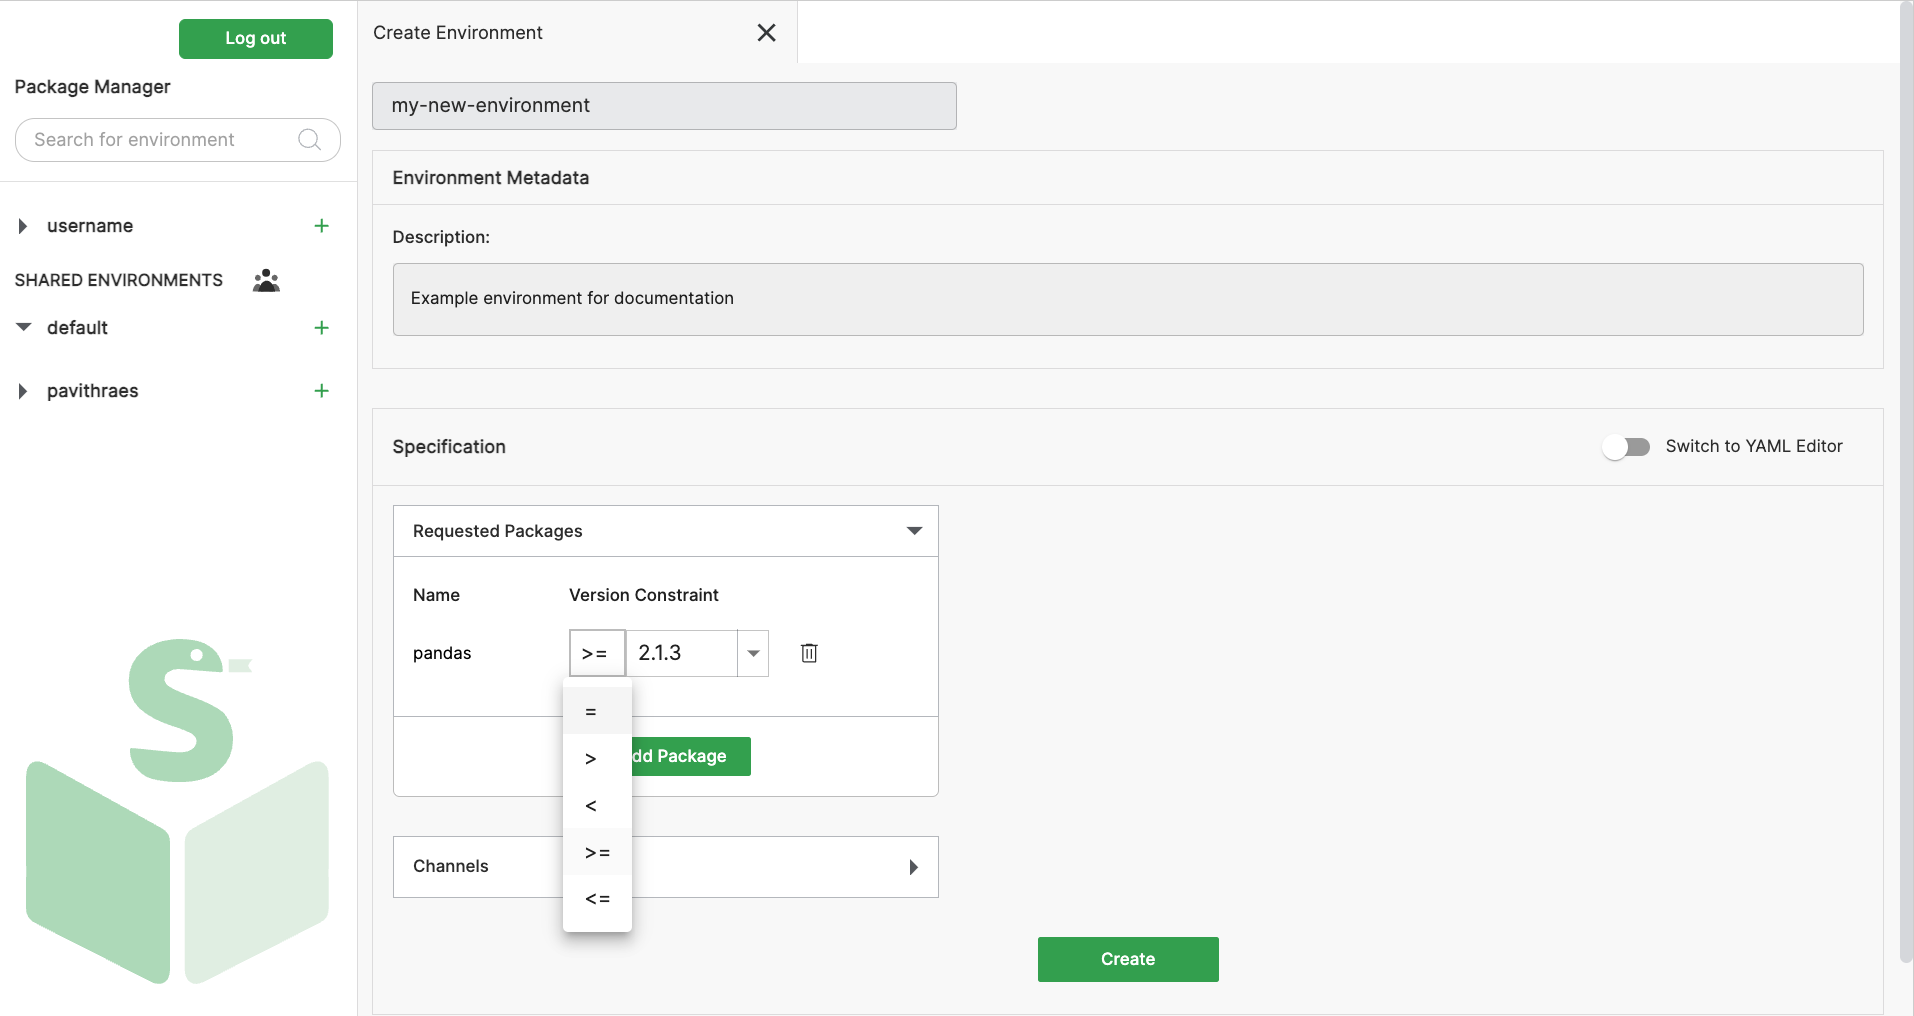
Next, select the package version and constrain from the dropdown (you can also type in these fields):
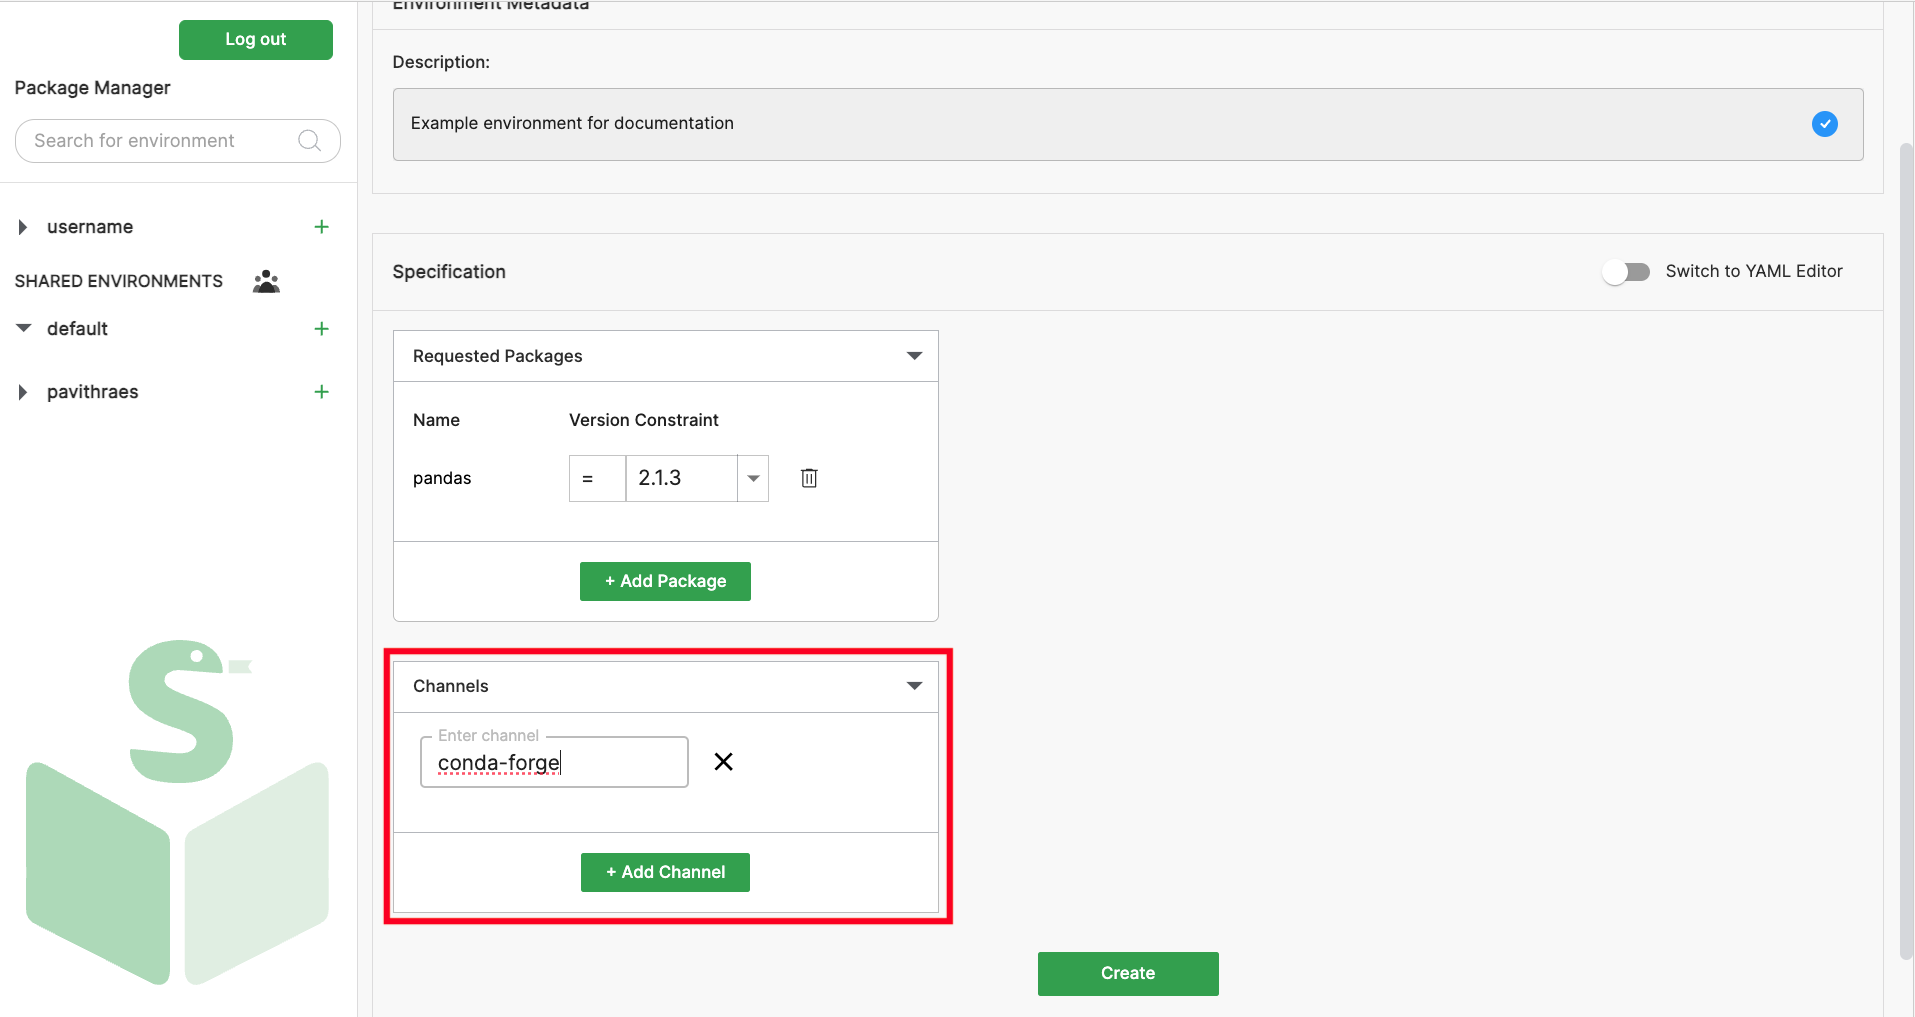
Add preferred channel
To specify the (conda) channels you'd like to install packages from, click on the "+ Add Channel" button under "Channels" in the Specification section, type the name of your preferred channel, and press Enter.
If not specified, the "conda-forge" channel will be used by default.
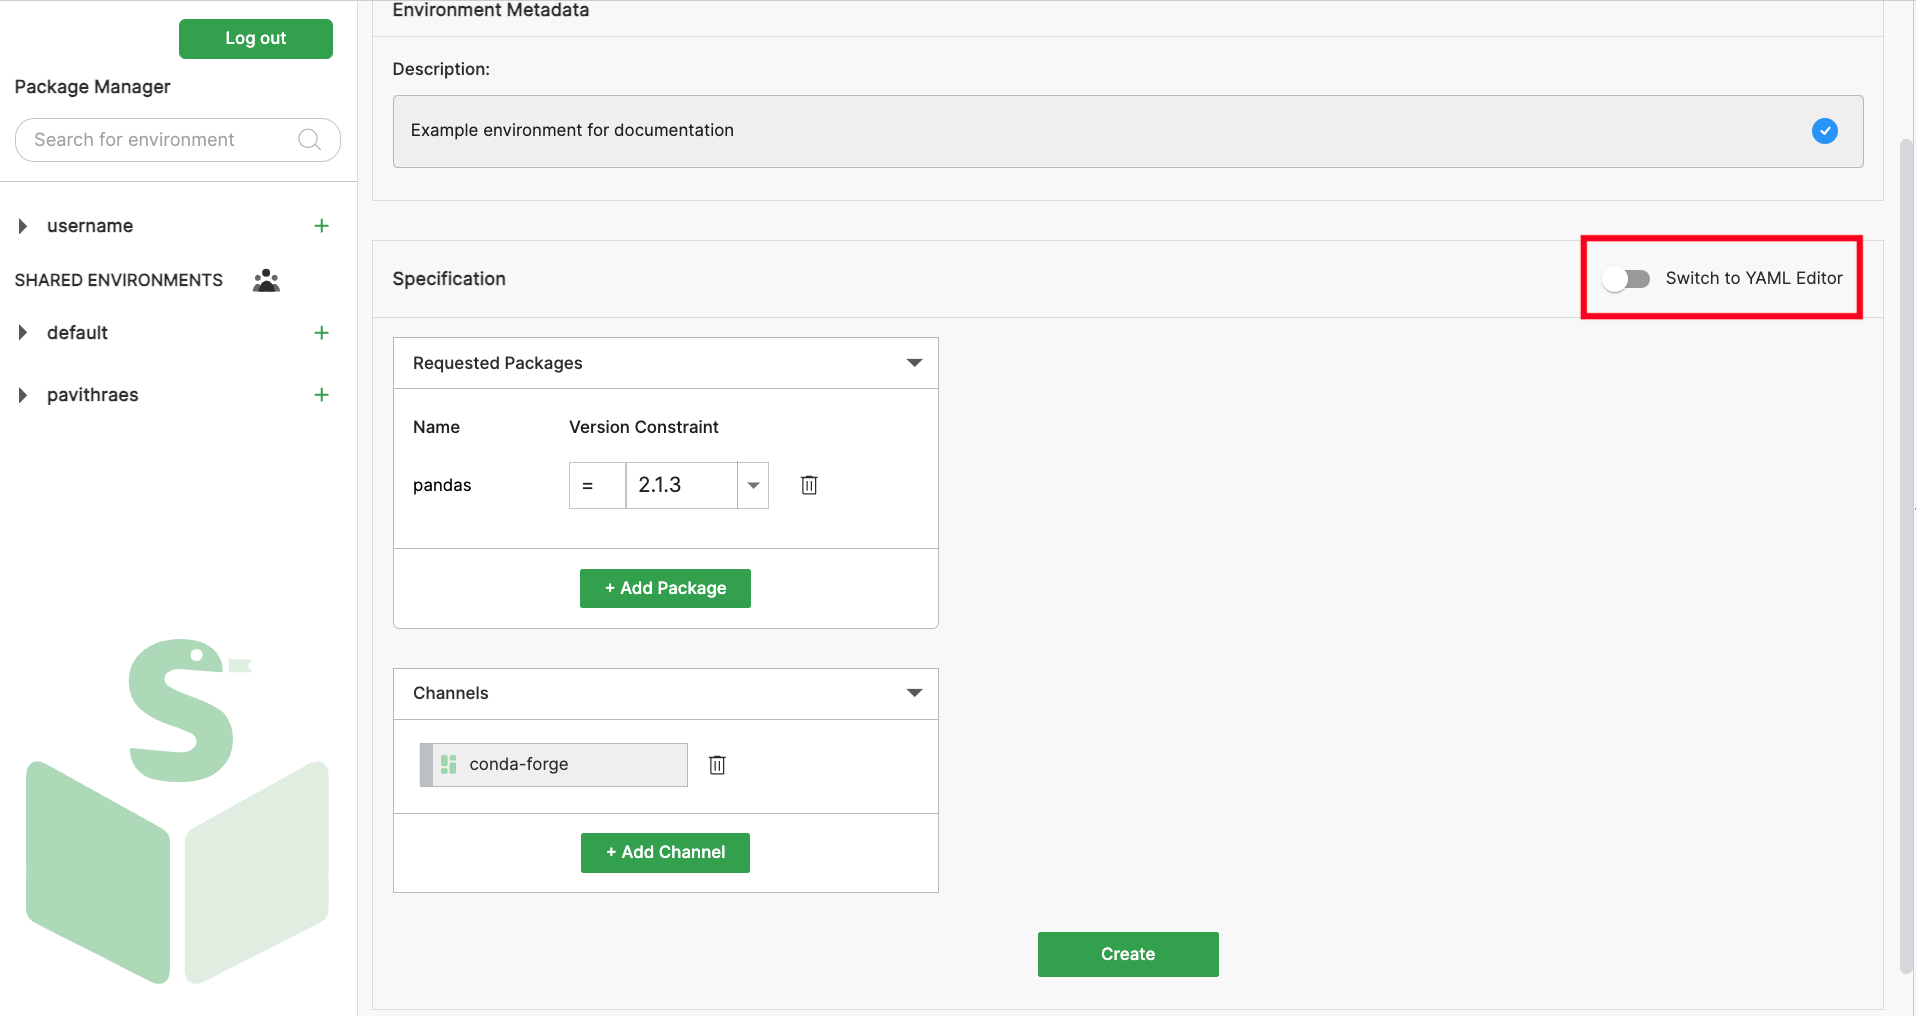
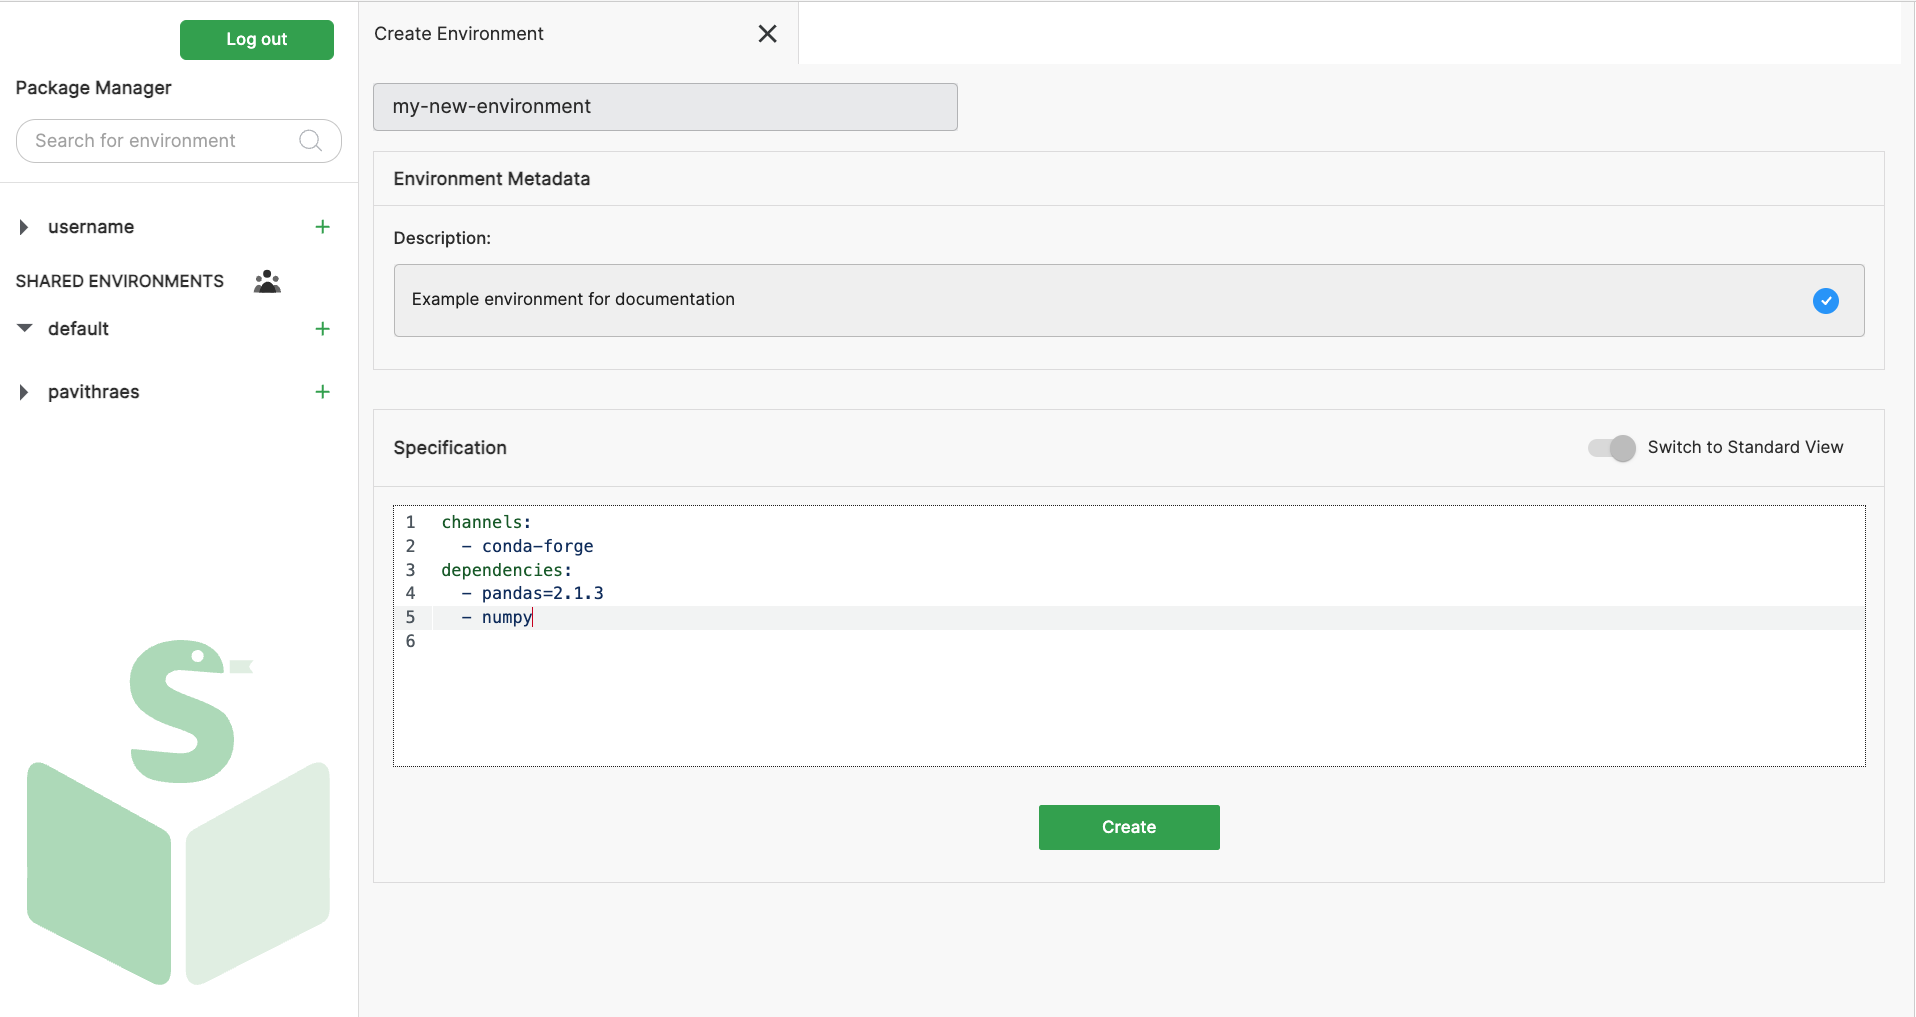
YAML editor
Alternatively, you can use the YAML editor to create environments.
This approach is recommended for users familiar with conda's environment.yml specification or for users who need to use pip to install some packages.
Click on "Switch to YAML editor" toggle in the Specification section:
Update the specification to include the packages, versions, and channels you need.
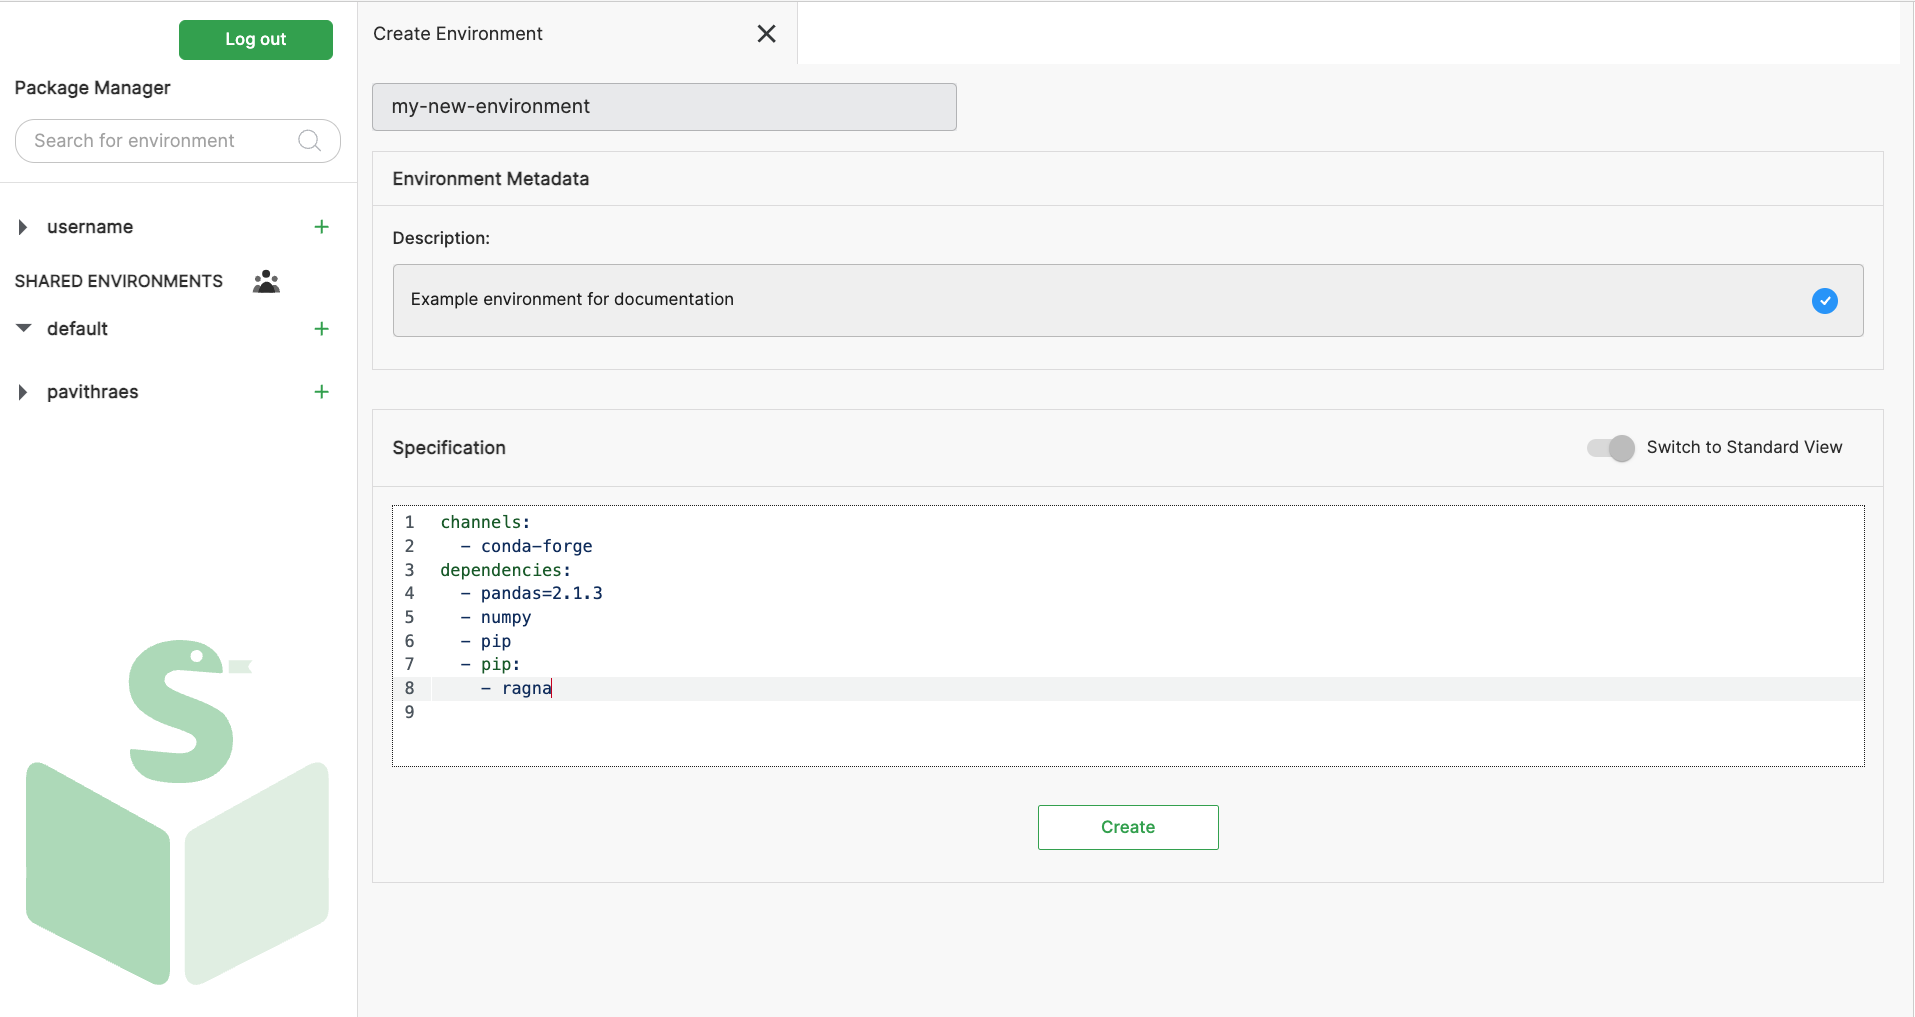
Add PyPI-hosted packages (with pip)
You can install packages using pip only through the YAML editor.
Currently, pip-installed packages will not be visible in the graphical specification. However, these packages will be installed in your environment.
To install packages published only on PyPI using pip, include a pip section (add pip as a dependency as well) in the YAML editor.
Set environment variables
This feature is available after conda-store-ui version 2024.1.1.
Currently, only the CONDA_OVERRIDE_CUDA environment variable can be specified, which allows setting the CUDA version for building packages with GPU support.
Learn more in the conda documentation
You can set environment variables in the YAML editor with the following syntax:
variables:
  CONDA_OVERRIDE_CUDA: '12.0'
Trigger environment creation
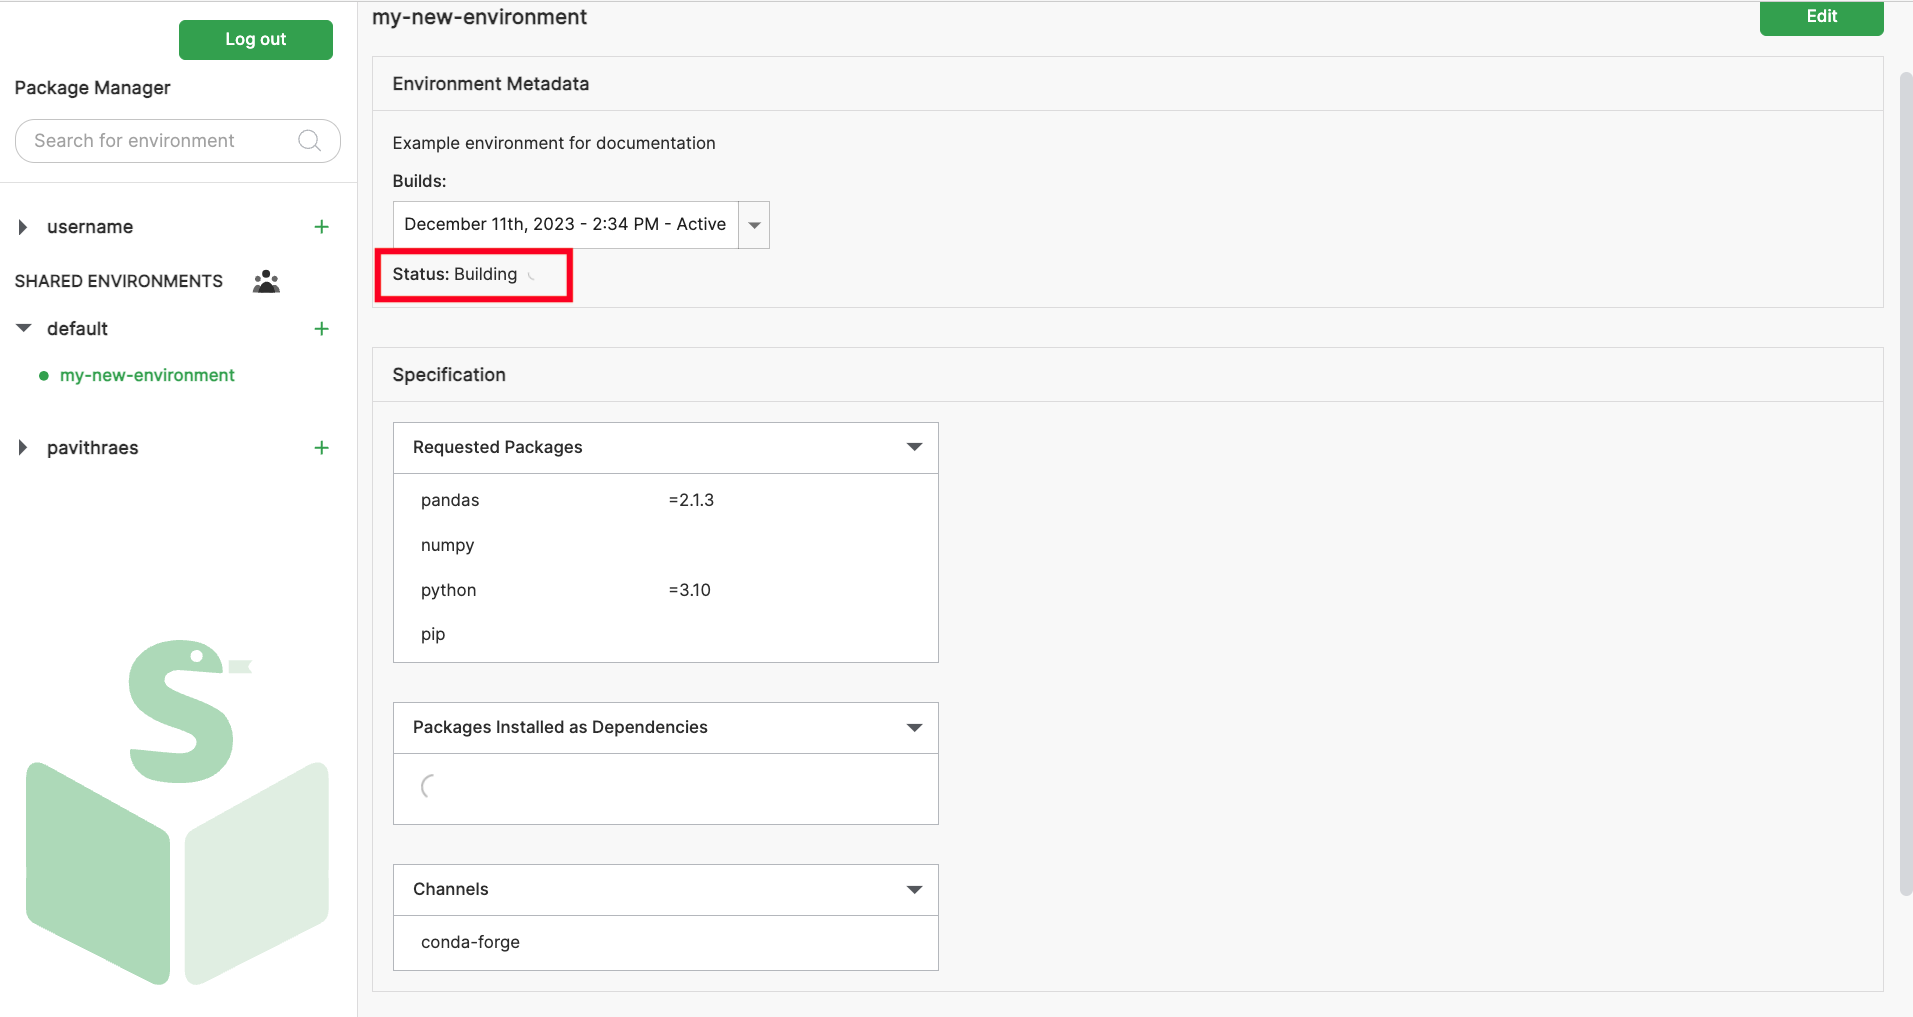
Once the name, description, required packages, and channels are specified, click on the "Create" button at the bottom of the screen to trigger environment creation:

A message pops up confirming the environment build. In the "Environment Metadata" section, the "Status" displays "Building" while the environment is created:
The "Status" will change to "Status: Completed in ... min" once the environment is built and ready to use.