1. Setup
Local deployment
conda-store-ui is only the graphical user interface.
It requires conda-store-server running in the background to provide environment management features.
You can setup conda-store locally in standalone more or using a Docker-based installation.
Option 1: Docker-based local setup
Alternatively, you can use the docker compose file available in the conda-store-ui repo. The docker compose file contains both conda-store-ui and conda-store-server, so it is perfect for a playground.
- Clone the repository and navigate into the root:
git clone https://github.com/conda-incubator/conda-store-ui.git
cd conda-store-ui
- Start Docker Compose
docker compose up --build
- Open conda-store-ui, running at localhost:8080
Option 2: Standalone local setup
The standalone mode is stable in Linux systems.
For other operating systems, the standalone mode is available on main branch and will be included in the next conda-store-server release. To use the development branch, follow the instructions in the contribution guidelines.
- If you already have
conda-store-serverinstalled, you can start it in standalone mode to access the UI:
conda-store-server --standalone
- Visit localhost:8080
Authentication
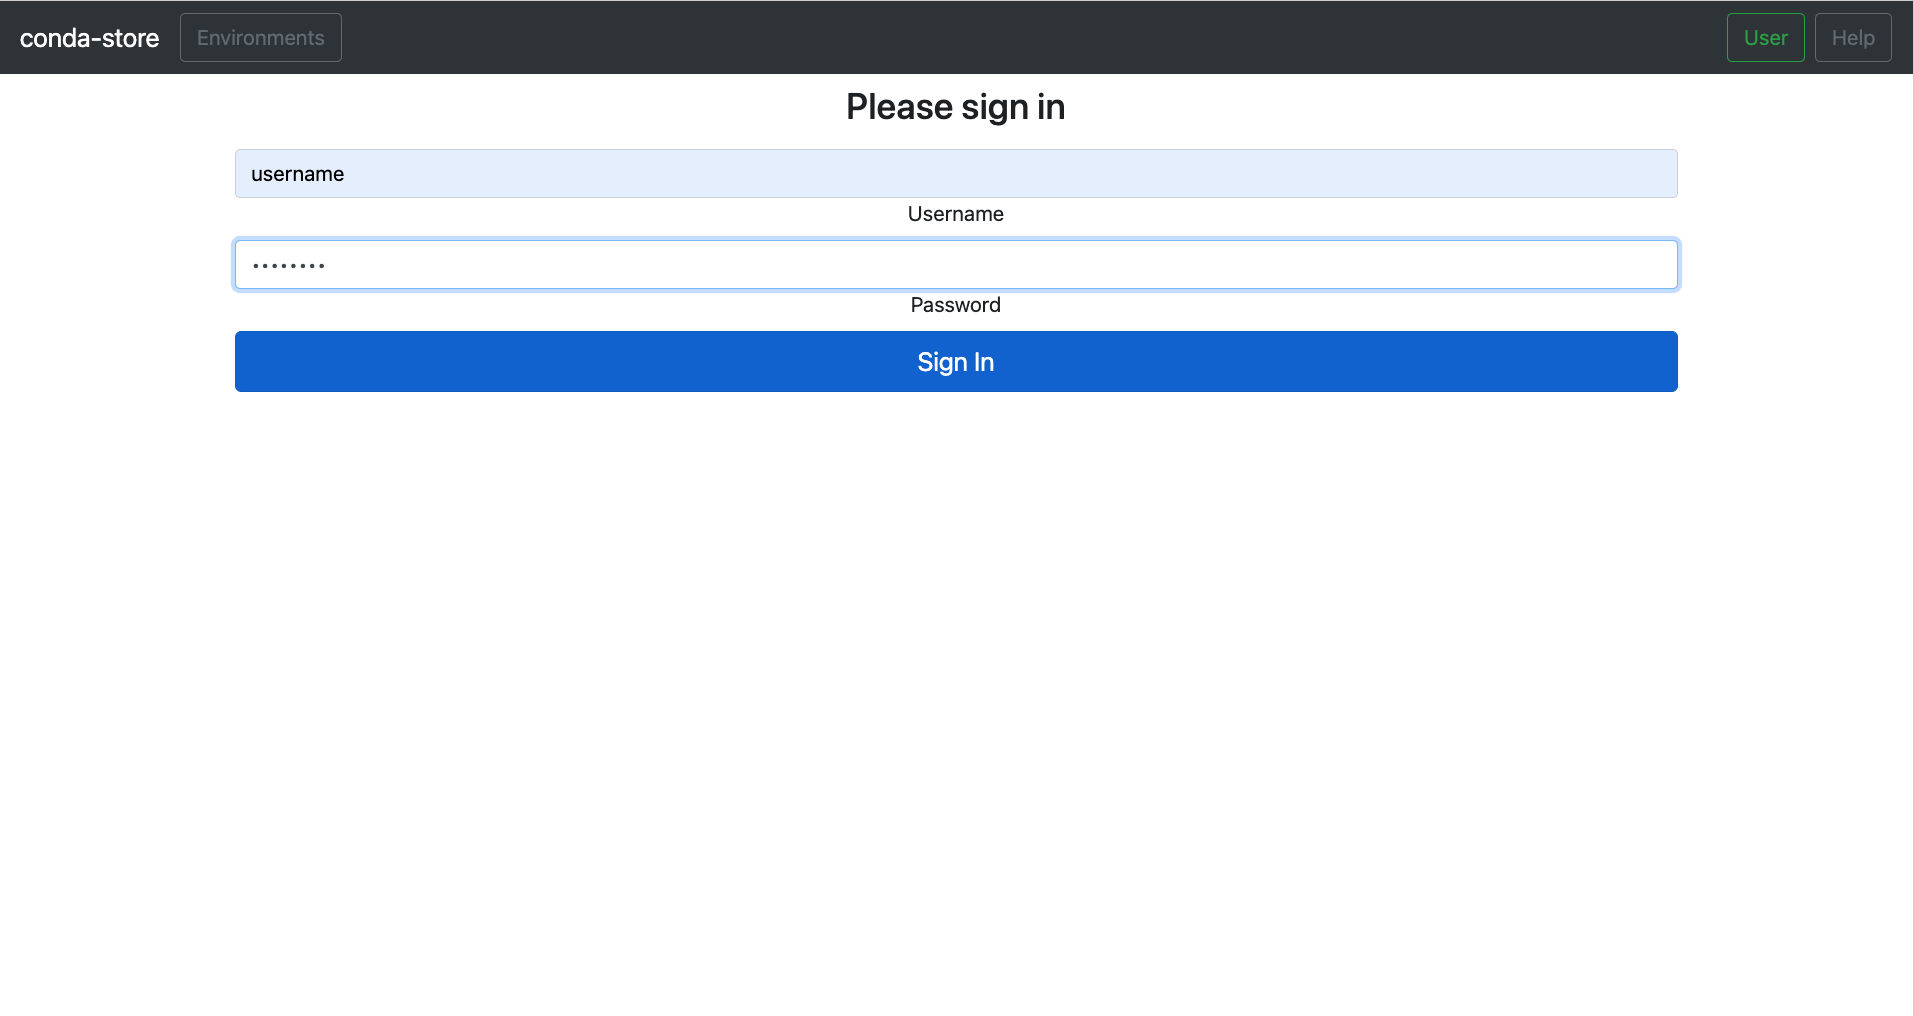
While you can view certain namespaces and environments, you need to be logged-in to create and edit environments in conda-store.
Locate the login button in the left sidebar, and click on it.
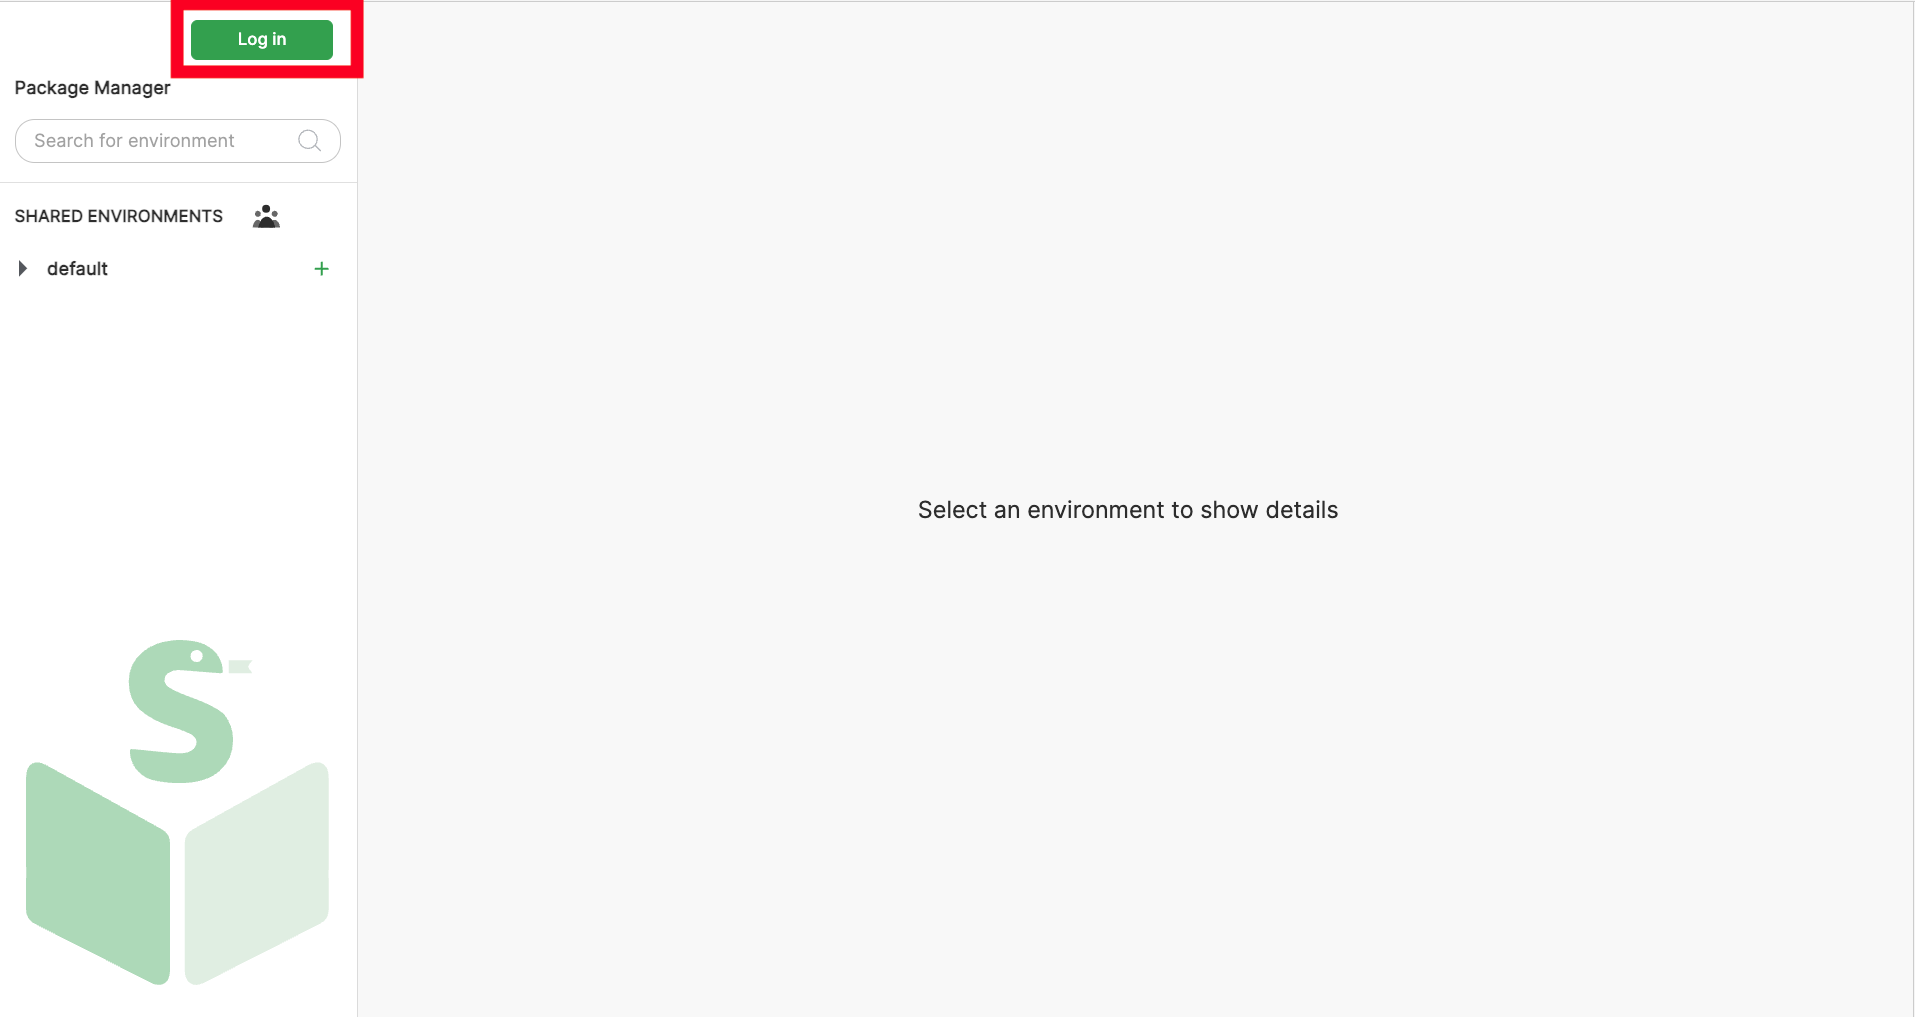
The default login combination is:
- username: any username
- password:
password
Once logged-in, you can click on the same button to log-out when needed.